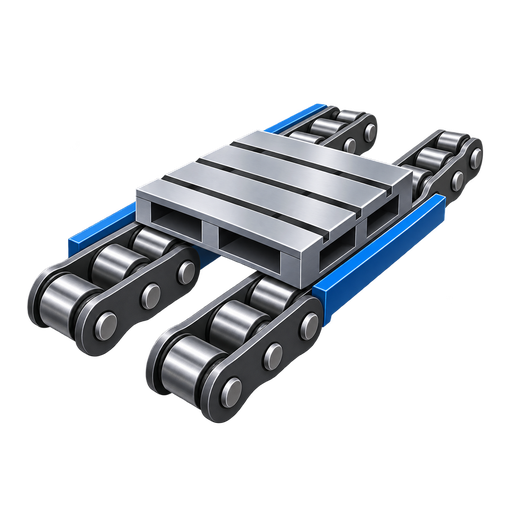
How to Prevent Side Loading on Conveyor Chain
Practical engineering guide: How to Prevent Side Loading on Conveyor Chain. Selection, interfaces, application checks, maintenance and RFQ inputs.
This guide focuses on how misaligned rails, skewed pallets and offset stops can push the chain laterally and accelerate wear. It is written for machine builders, maintenance teams and buyers who need a chain selection that can be checked against drawings and the real conveyor rather than a generic product label.
How to Prevent Side Loading on Conveyor Chain
Many conveyor problems begin when a correct catalogue component is installed into an interface that was never checked in detail. In a typical project such as a long two-strand conveyor with a rigid workpiece pallet, chain pitch, roller contact, rail alignment, sprocket engagement, carrier stiffness, stops and maintenance access all influence the result. A useful engineering review therefore combines model-level data with the operating sequence of the machine.
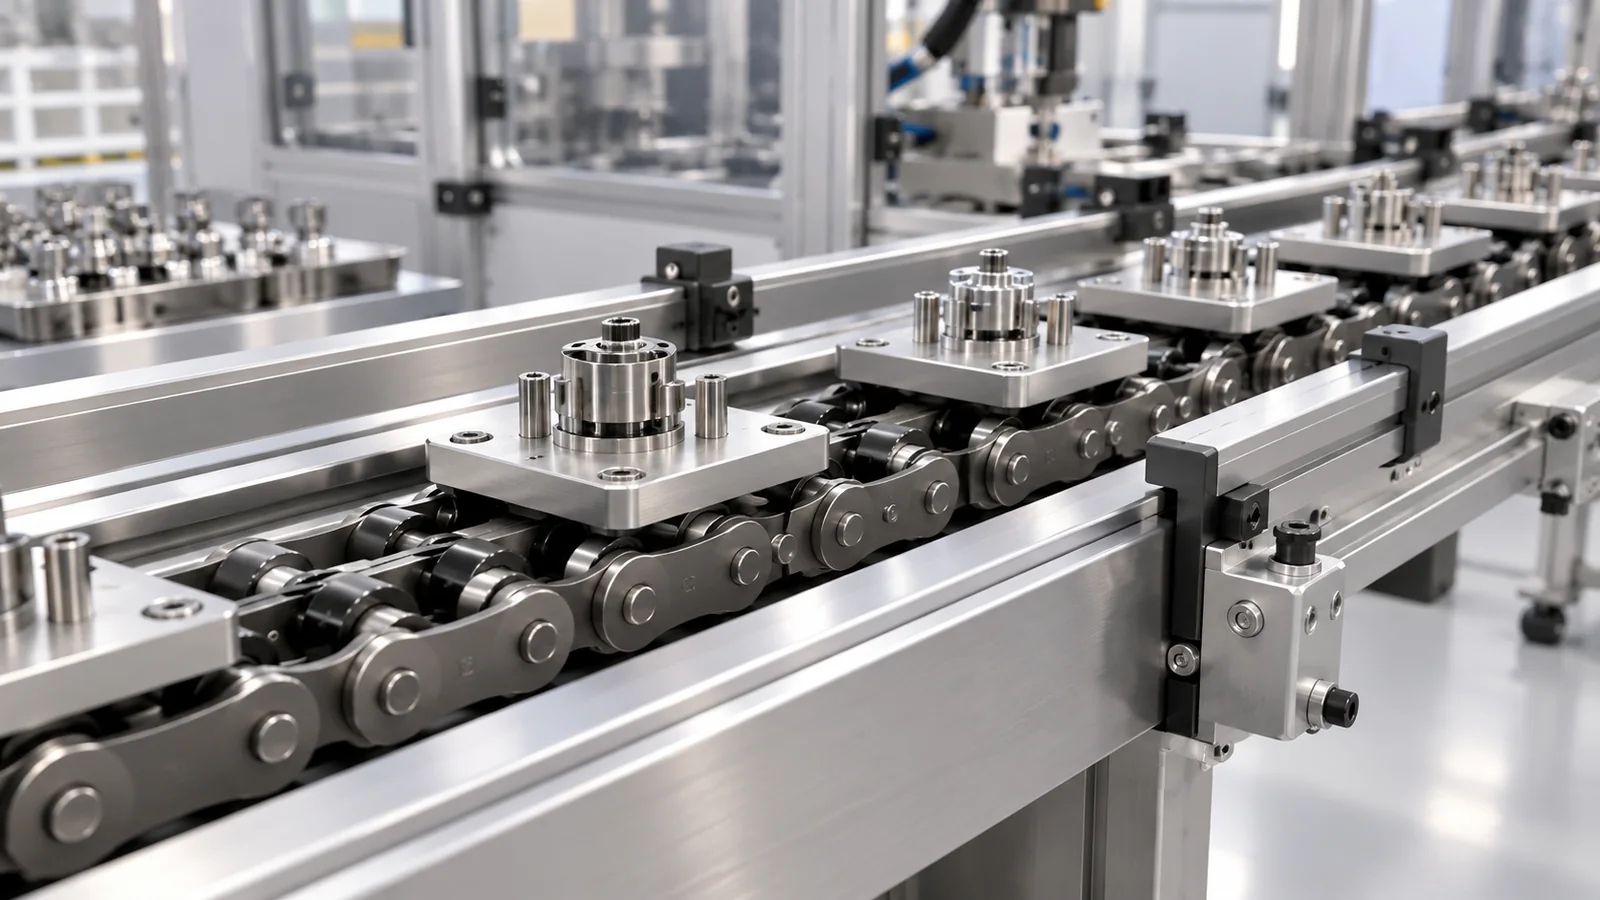
Why this issue matters
How misaligned rails, skewed pallets and offset stops can push the chain laterally and accelerate wear affects more than catalogue selection. It changes how the workpiece carrier enters a station, how loads pass into guide rails, how the chain approaches the drive and how the system behaves during stopping or accumulation. If one interface is ignored, the symptom may appear somewhere else: a roller can wear because a rail joint is high, a chain can pull sideways because a pallet stop is offset, or a new chain can run badly because the old sprocket is worn.
The practical objective is not to eliminate every variation in the machine. It is to identify the variables that must be controlled, define which dimensions are fixed by the chain source, and leave unsupported items for explicit RFQ confirmation. This is also why using the chain side plates as a guide surface when they were not designed for it is a risky shortcut. It replaces measurable machine data with an assumption and can make a correct-looking part fail at installation.
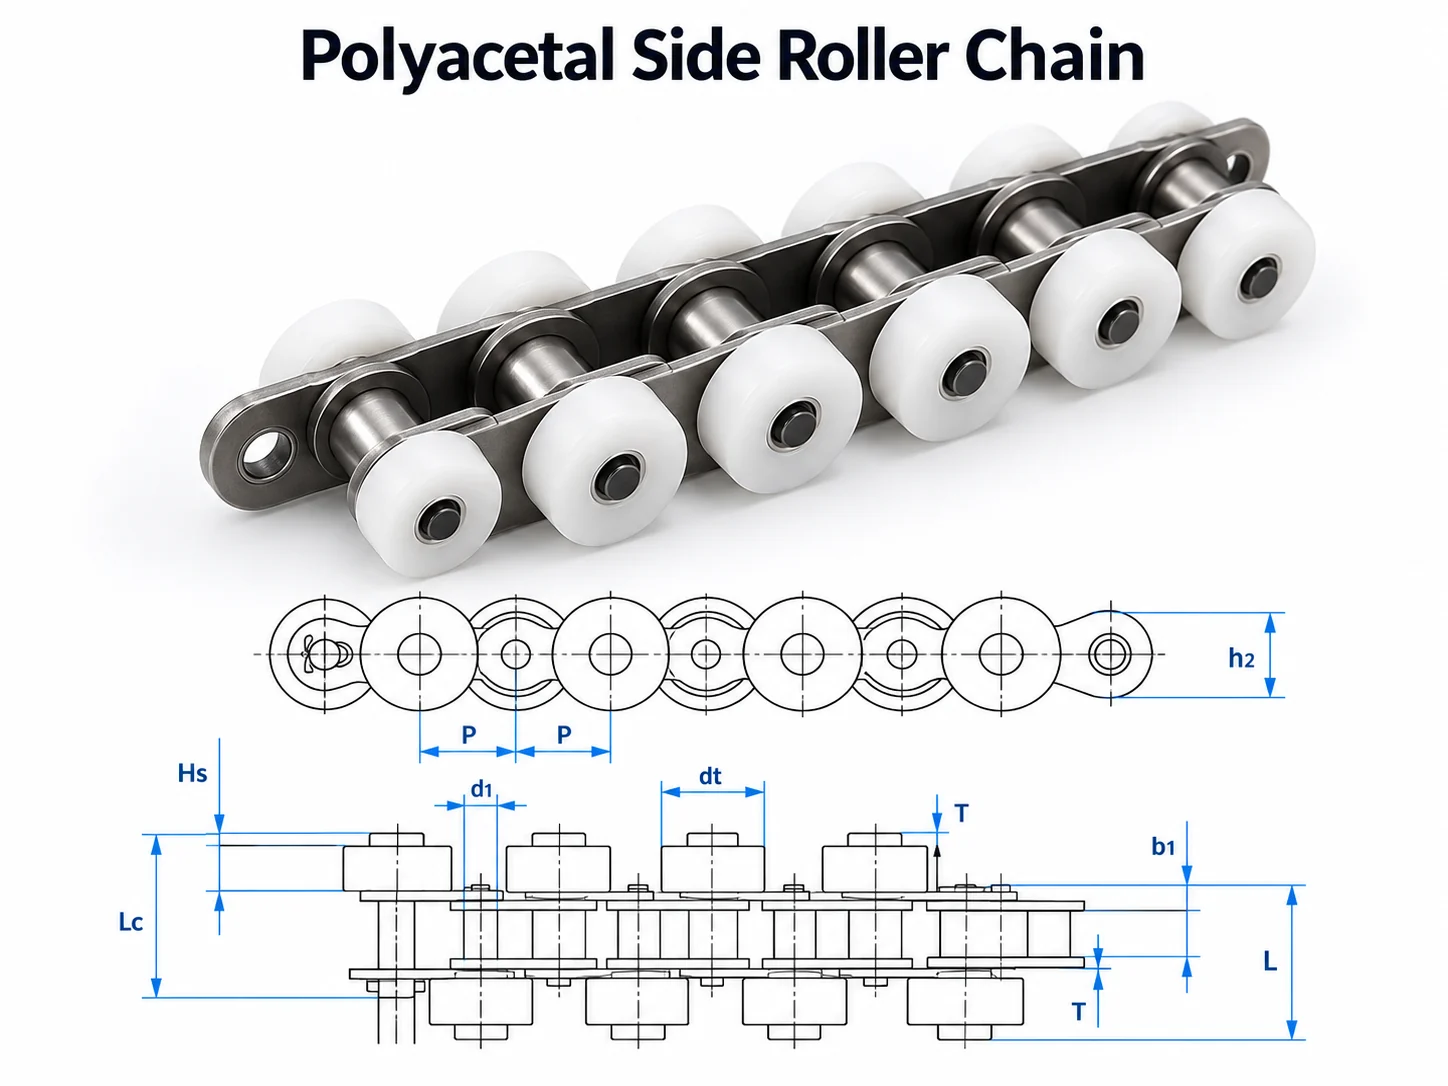
Four checks to define first
Rail Parallelism
Record the relevant diameter, offset, contact surface, clearance and visible wear so the running interface can be checked.
Pallet Squareness
Define the loaded condition, contact or datum surface, position and force path so the carrier interface can be checked.
Stop Alignment
Define the loaded condition, contact or datum surface, position and force path so the carrier interface can be checked.
Sprocket/Shaft Alignment
Record tooth count or drive geometry, shaft alignment, take-up position and the way the chain enters and leaves the drive.
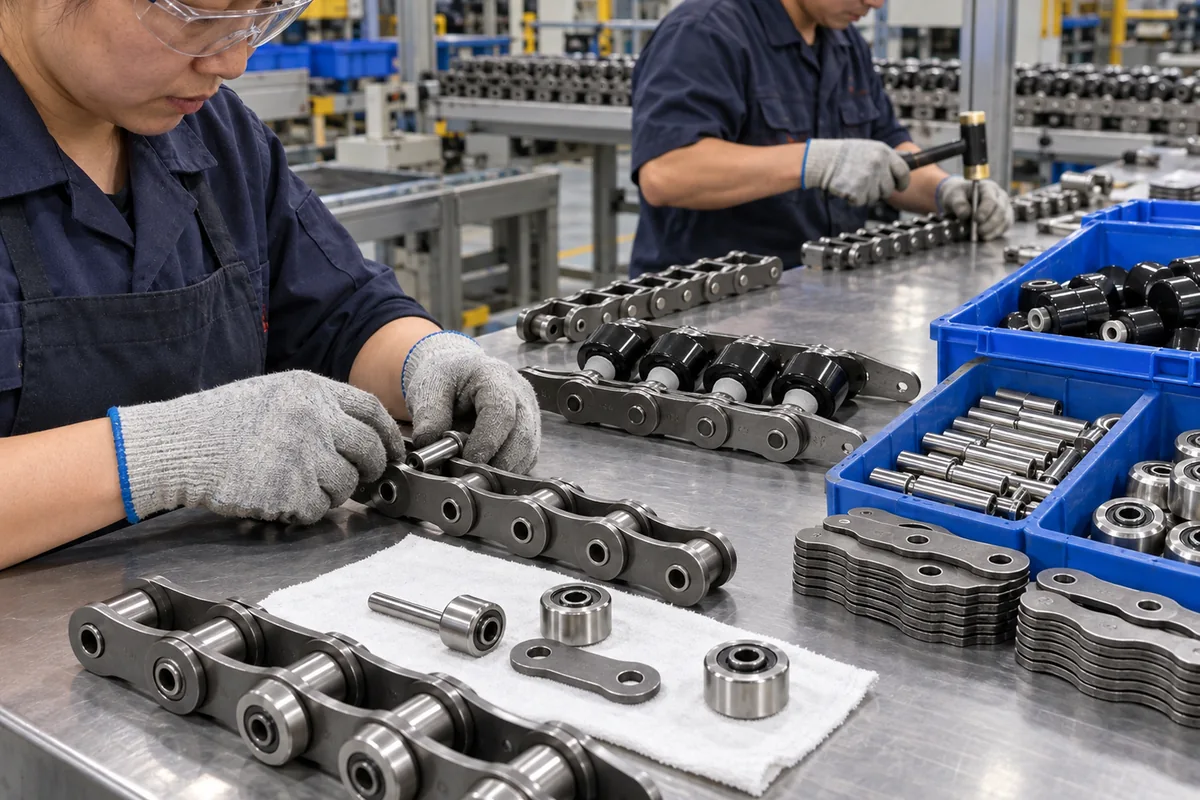
Start with the exact chain geometry
When a model number is available, use the exact model specification and the matching drawing. Compare pitch, roller diameters, inner width, pin diameter and length, plate height and thickness, and any side-roller, large-roller or hollow-pin dimensions that interface with the conveyor. When the code is unknown, measure the installed chain systematically. Measuring pitch across several pins is more reliable than reading a single worn gap, and photographs should show the side profile, roller arrangement, sprocket and rail contact.
Do not use tensile strength as the pallet payload. Catalogue tensile figures are material/component test properties. Conveyor working conditions also involve line length, the number of chain strands, carrier count, acceleration, shock, friction, lubrication, sprocket size, wear state and the required safety factor. The chain can only be verified for a system after those conditions are understood.
Selectieworkflow
- Rail Parallelism: compare the required condition with the exact chain drawing or system layout and record any open question for RFQ confirmation.
- Pallet Squareness: compare the required condition with the exact chain drawing or system layout and record any open question for RFQ confirmation.
- Stop Alignment: compare the required condition with the exact chain drawing or system layout and record any open question for RFQ confirmation.
- Sprocket/Shaft Alignment: compare the required condition with the exact chain drawing or system layout and record any open question for RFQ confirmation.
- Carrier and duty: record loaded carrier mass, number of carriers, line speed, starts per hour, accumulation pattern and any incline or vertical transition.
- Drive and return: confirm sprocket data, shaft alignment, take-up range, return support and lubrication access.
- Release condition: list any field that the technical data does not state—such as a special material grade, coating, allowable system load or environmental rating—as an RFQ confirmation item instead of estimating it.
System integration
Once the chain is identified, check how the conveyor transfers load into the rest of the machine. The guide or wear rail should support the intended roller surface and remain continuous through joints. Parallel strands should have the specified center distance and synchronized drive timing. Stops should contact a designed pallet face, not the chain side plate. Cross transfers and lifts need enough support so the carrier does not drop into a gap or land on a pin/plate edge.
For systems that accumulate, separate transport from stopping. The chain may continue moving while the carrier is held, but the stop force, queue length, restart sequence and local friction still need to be checked. For systems that position a workpiece for processing, use dedicated locating features when the required repeatability is tighter than normal conveyor transport can provide.
Commissioning and maintenance
Commission a new or repaired conveyor at low speed first. Jog several complete chain circuits and observe the drive, return, rail transitions, stops and transfers. Listen for sounds that repeat once per chain revolution or once per sprocket rotation because those patterns help isolate a tight joint, roller damage, local rail step or sprocket issue. With rigid workpiece pallets, watch for skewing across parallel strands; even small timing differences can load one side of the carrier.
Maintenance should track trends instead of waiting for a failure. Record elongation or length checks using the approved method, inspect rollers for free rotation and abnormal flats, look for polished side-contact marks that suggest misalignment, inspect sprocket teeth and verify take-up position. Lubrication intervals should reflect the operating environment and the chain manufacturer’s guidance; more lubricant is not automatically better if it attracts abrasive contamination or enters a process area.
RFQ checklist
For a replacement request, send the model code if legible, measured pitch, roller arrangement, chain width, plate height, pin dimensions, a photograph of the side profile and a photograph showing sprocket/rail contact. For a new system, add conveyor length, carrier size and loaded mass, number of strands, strand spacing, speed, starts/stops, buffer length, environmental conditions and destination country. These details make it possible to separate a chain match from a full conveyor-duty calculation.
Remove the source of lateral force
Side loading often begins outside the chain: non-parallel rails, a skewed pallet, offset stop, misaligned sprockets or a transfer that catches one side first. Look for polished edges and unequal roller wear to trace the direction of force.
Correct the geometry before adding guides that simply constrain the symptom. On dual-strand conveyors, compare strand timing, rail height and carrier stiffness because any of these can twist the pallet and load one chain sideways.
Measure the interface
Use several-pitch dimensions, end-view geometry and sprocket/rail details when a replacement must fit an existing machine.
Describe the duty
Include loaded carrier mass, speed, starts, accumulation or indexing behavior and the operating environment.
Test the worst case
Commission with representative carriers and the most demanding queue, stop, transfer or restart condition rather than only no-load travel.
Keep open items explicit
If a material, coating, special tolerance, documentation need or allowable system load is not stated, confirm it in the enquiry.
Frequently asked questions
Can I select a replacement from pitch alone?
For how to prevent side loading on conveyor chain, pitch is only the first filter. Confirm roller geometry, inner width, pins, plates and any side-roller or hollow-pin features against the installed conveyor before treating two chains as interchangeable.
Does a higher tensile value mean I can carry that load on the pallet?
For how to prevent side loading on conveyor chain, do not convert tensile strength directly into pallet payload. Service load depends on strand count, friction, acceleration, stop impact, sprockets, rails and the safety margin used for the machine.
Can a representative family photo prove the exact model?
No. A representative family image can help explain construction, but model identity and dimensions must come from the model-specific technical specification, drawing or confirmed manufacturing data.
What information speeds up a quotation?
For an RFQ related to how to prevent side loading on conveyor chain, send the model code or dimensional sketch, clear photographs, conveyor layout, loaded carrier information, quantity and delivery country so the review starts from reproducible machine data.
Key engineering variables for How to Prevent Side Loading on Conveyor Chain
The decision should be tied to measurable machine inputs and the exact chain drawing rather than a generic family label. Record the operating case in one line: what the conveyor carries, how fast it moves, where it stops and what condition triggered the review. Capture dimensions and observations another engineer can reproduce.
| Input | What to record | Why it matters |
|---|---|---|
| Carrier/load | Loaded mass, center of gravity, underside contact and carrier count | Support, friction and stop behavior |
| Motion | Speed, starts, stops, accumulation and indexing | Dynamic demand and process timing |
| Chain path | Pitch, rollers, strand spacing and rails | Mechanical fit and tracking |
| Drive | Sprocket teeth, alignment, take-up and drive position | Engagement and tension distribution |
| Environment | Temperature, dust, moisture, cleaning and lubrication limits | Material and maintenance choices |
Related product and selection resources
Use the pallet conveyor chain catalogue to compare families and the Werkproces voor het selecteren van technische projecten when machine data is incomplete.
What to include with an enquiry about How to Prevent Side Loading on Conveyor Chain
Identify the installed or proposed chain family, quantity, application, carrier/load, key dimensions and the operating condition the new part must solve. Attach photographs or drawings when the existing code is uncertain and keep open material, documentation or delivery requirements visible.
Close the design loop with a measurable conveyor record
A pallet conveyor review should leave behind a compact machine record that another engineer or buyer can use later. Capture the chain model, measured pitch, carrier mass, strand spacing, rail section, sprocket data, conveyor speed, start/stop pattern, environment and quantity in one place. Add photographs of the chain, sprocket, carrier underside and the most critical transfer. For a new line, include the process sequence and station layout; for a replacement, include the old part number and the dimensions that were verified on the machine. This record makes later maintenance and procurement faster because the next decision is based on the installed interfaces rather than a product photograph or family name.
Machine
Carrier/load, layout, transfers, stops, speed and queue behavior.
Chain
Model, measured pitch, roller/pin geometry and condition.
Drive
Sprocket, shaft, take-up and rail transition.
Project
Quantity, environment, documentation and delivery requirement.
Trace lateral force back to the carrier and rail geometry
Side loading usually enters the chain through a machine interface. Check whether the carrier is centered between the strands, whether guide rails are parallel, whether a stop pushes the pallet sideways, and whether sprockets or shafts are misaligned. A side roller can guide or support a system as designed, but it should not be used to mask a persistent lateral force created elsewhere.
During commissioning, mark the rail contact surfaces and observe both strands through transfers and stop events. Uneven polishing, one-sided roller wear or a carrier that visibly shifts before a station can point to the source. For an RFQ, provide strand spacing, rail cross-sections, carrier underside views and stop direction so the lateral load path can be reviewed.
Combine measurements with repeatable operating observations
A useful review of How to Prevent Side Loading on Conveyor Chain should make today’s condition comparable with the next inspection. Choose fixed points for several-pitch length, take-up position, rail condition and sprocket wear, and photograph the same locations. Add observations from empty and loaded running, including noise, side contact, roller rotation, accumulation, restart and lubrication condition. Mark the chain if a symptom appears to follow one joint around the loop.
Location and timing help separate causes. A symptom fixed to one station suggests a stop, transfer or rail interface; one that follows a marked chain section suggests a local chain issue; one tied to sprocket rotation points back toward engagement or shaft alignment. Correcting the mechanism behind the wear is more useful than replacing the part that shows the wear first. When requesting replacement components, include the trend, the abnormal location and the machine condition that produces it.
Trend
Use the same measurement points and units at each inspection.
Locate
Separate moving-chain symptoms from fixed machine-location symptoms.
Load test
Compare no-load running with representative carrier and queue conditions.
Record
Keep photographs, dimensions, lubricant information and corrective actions together.
Trace lateral force from the wear mark back to the machine geometry
Look for polished plate edges, one-sided roller wear and carriers that touch a guide before reaching a station. Mark where the contact begins. Common causes include non-parallel rails, different rail heights, skewed sprockets, an offset stop or a transfer that catches one side of the pallet first.
On dual-strand systems, measure strand centers and compare take-up positions and sprocket timing. Check carrier stiffness and loaded center of gravity; a flexible or unevenly loaded pallet can twist enough to side-load one chain even when the rails are nominally parallel.
Correct the geometry before adding tighter guides or extra chain tension. After adjustment, run the heaviest carrier through stops, transfers and the longest queue. For an RFQ, include end views of the rail/chain interface and the direction of observed side force so the replacement chain is reviewed in the correct machine context.